Invert
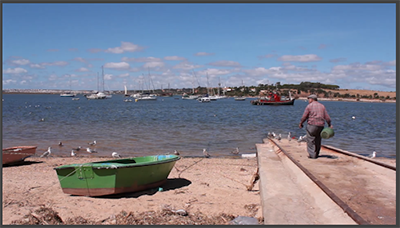
This effect inverts the colour information within an image:
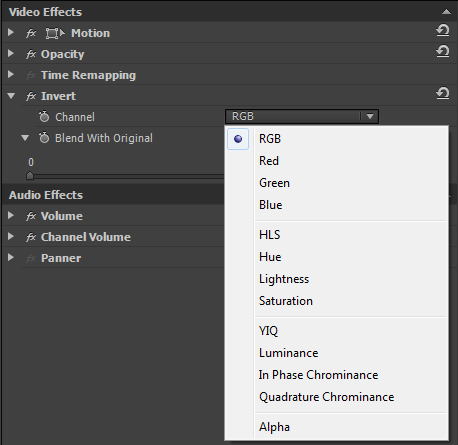
Channel
With this property, displayed in the Effect Controls panel we may select which channels within the image are inverted. The options are grouped within colour space operation, denoted by the thin table separation lines.
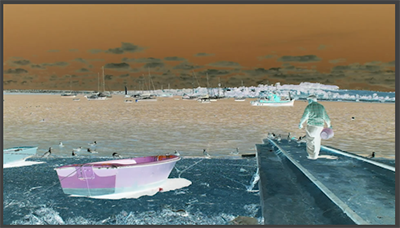
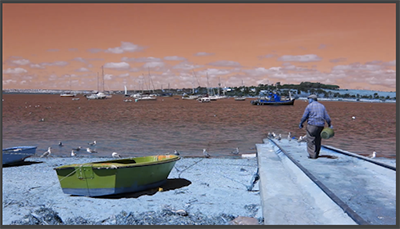
Have a play with the options to get some striking results, this is with “In Phase Chrominance” selected:
Blend With Original
This setting 0-100% determines how much the affected image is blended with the original image. At 100% the original image is not changed.
Set Matte
Set matte was originally an After Effects process. it has been included within Premiere for compatibility purposes. The “Track Matte Key” effect is basically the same and is accelerated, so we would advise using this instead.
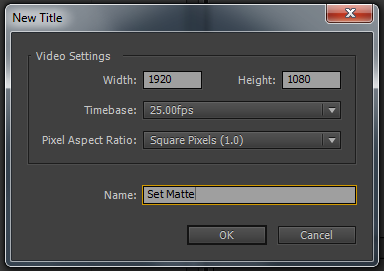
Let’s see how we can use the Set Matte effect. Go to File/New/Title to create a new title. Name it “Set Matte“
With the caps lock on, type “SET MATTE” and choose font “Aharoni“, with a large font size that fills the screen. Next, right-click the text and position in the centre of the screen, both vertically and horizontally.
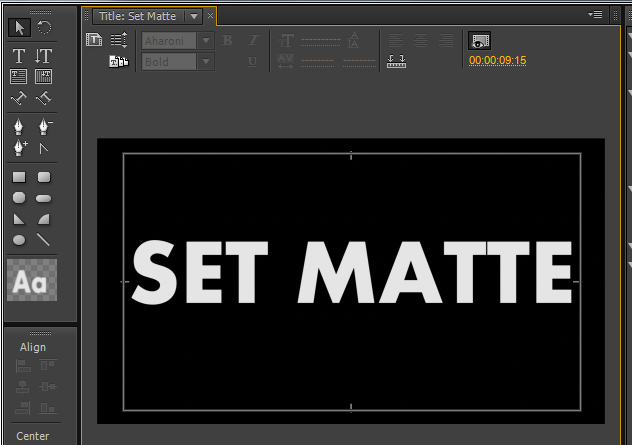
We will be using the alpha channel, or the white part of this title file as a matte. Drag an instance of the title onto Track 2 within the Timeline. Next, drag the video clip “Dog Watches Stick 1” onto Track 1 of the Timeline. If you have not downloaded this file then please use any video clip that you have, it doesn’t matter in this example.
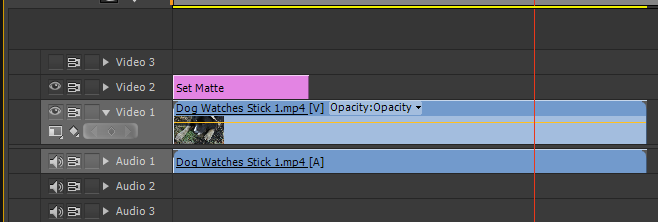
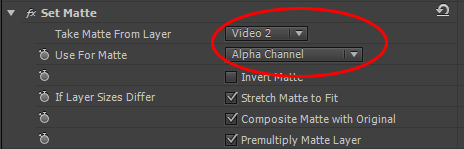
Now apply the Set Matte effect to the “Dog Watches Stick 1” video clip. In the Effects Control panel, select Video 2 from the “Take Matte From Layer” property. This tells Premiere to use a channel from whatever image is on Video 2 as the matte for the image on track Video 1. With the “Use For Matte” property, you may select a channel. We will use the Alpha Channel.
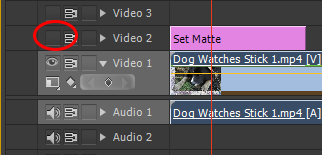
Next, turn off the Video 2 track in the Timeline.
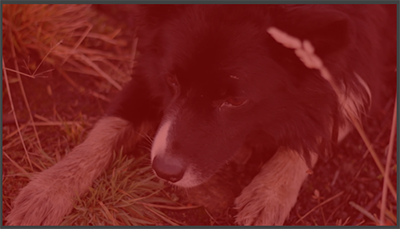
In the Program Monitor, the resultant image should look like this:
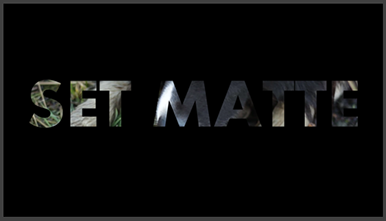
As you may see, we can now play through the Timeline and the title text will be transparent, with the video track showing through.
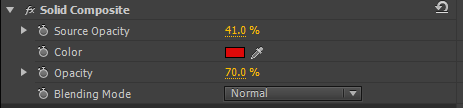
Solid Composite
The solid composite effect is a quick way to mix a solid colour with a video clip or image of your choice. Simply apply the effect to the clip and the choose the solid colour. The opacity of both the video and the solid colour may then be adjusted from 0-100%. There are a full selection of blending modes available.