Calculations
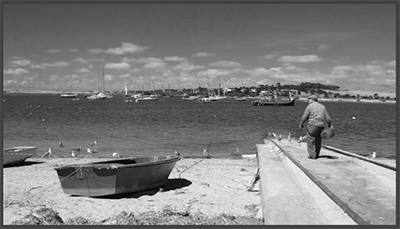
The calculations effect allows the user to affect an original image with a secondary image by applying values contained within each colour channel. let’s bring down an instance of the “Fisherman 1” clip to the Timeline and apply the effect. With the default property values, there is no change to the image presented within the Program Monitor:

Input Channel
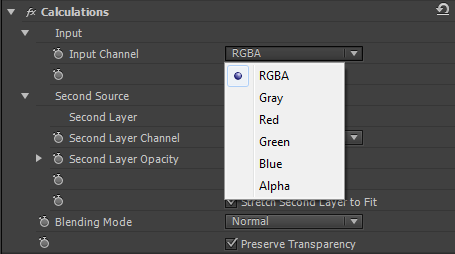
Selecting RGBA designates all channels will be affected by any Second Source that is chosen.
Gray – Adjusts all channel levels to the luminance value of the original pixel

Red – Adjusts all channel values to the value of the red colour channel within the original pixel
Green – Adjusts all channel values to the value of the green colour channel within the original pixel
Blue – Adjusts all channel values to the value of the blue colour channel within the original pixel
Second Source
The source for the effect input may be selected by choosing from the drop down menu under the property “Second Layer“.
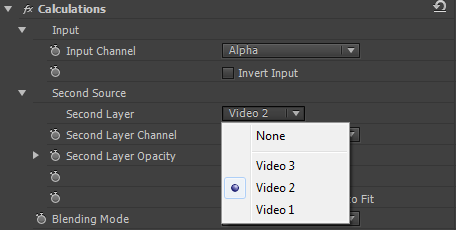
With this option we may place another clip onto a separate video track and blend it with our original image in a variety of ways.
Second Layer Channel
This selects which channel from the second layer is blended with the original input channel selected.
Second Layer Opacity
This sets the opacity of the second source over the original image
Blending Mode
This drop down property allows the selection of a large variety of blending modes similar to those found within Adobe Photoshop
Preserve Transparency
Checking this box will ensure that the original alpha channel is not affected
Compound Arithmetic
This effect operates in the same manner as the Arithmetic effect discussed in the previous tutorial. It is included within Premiere CS6 to provide compatibility with earlier versions of the program.
As with all effects within Adobe Premiere CS6, all of the properties are able to be controlled over time with keyframes