Channel Effects
Effects within this group operate by altering the values of each channel within the video signal. So R, G, B and alpha (red, green & blue)
Arithmetic Effect
This effect applies mathematical calculations upon the values of each channel within a video clip or image, altering the red, green or blue content in relation to the other channels. In basic terms the effect can produce colourful, “painted” style images such as the one demonstrated below:


Apply the effect to the “Fisherman 1” video file previously downloaded. The Effects Controls panel will display the following properties for the effect (we have already altered the RGB values to produce the image above).
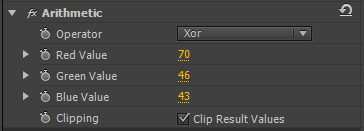
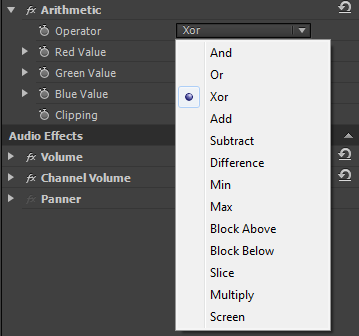
The “Operator” property will allow the values RGB to be altered using a variety of mathematical operations. Click the triangle to view the options:
Blend Effect
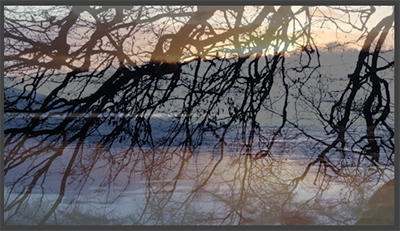
This effect does exactly what it says on the can, it blends to images or video clips together in a variety of different ways. Drag the “Tree 1” onto track one of the Timeline, and then drag the “Sunset 1” image onto track 2 of the Timeline.
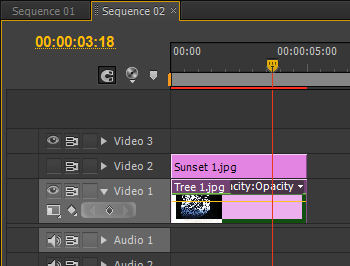
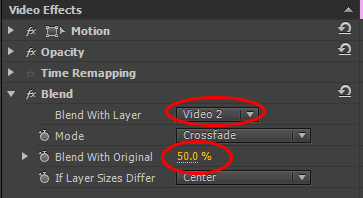
Apply the Blend effect to “Tree 1” and set the “Blend with Layer” property to Video 2. For the effect to work you must then disable track Video 2 in the Timeline by clicking the eye icon as depicted in the image above. Set the “Blend with original” property to 50%.
The resultant image in the Program Monitor should look like this:
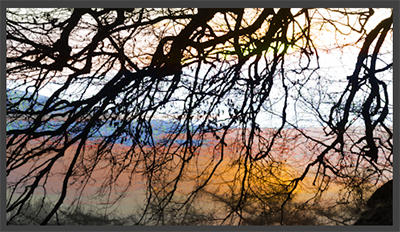
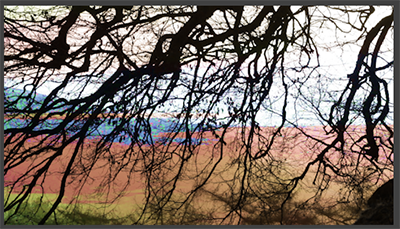
Try changing the “Mode” to see the different blending styles available:
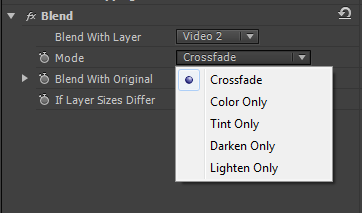
Crossfade
A simple crossfade between the two images
Color Only
Colours the pixels in the original image with the corresponding pixels contained within the secondary image
Tint Only
Very similar but only tints the pixels in the original image if they already contain colour information rather than just black, white or grey.
Darken Only
If a pixel in the original image is lighter than the corresponding pixel in the secondary image it will be darkened
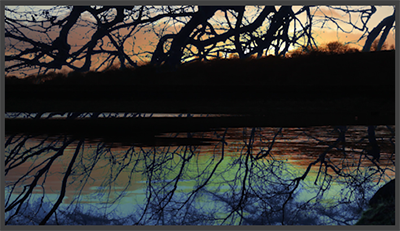
Lighten Only
If a pixel in the original image is darker than the corresponding pixel in the secondary image it will be lightened

Blend With Original
This property controls the amount of blending between the original and the secondary images. At 100% the original image is not affected, at 0% maximum blending occurs. In the examples above, this has been set to 0%.
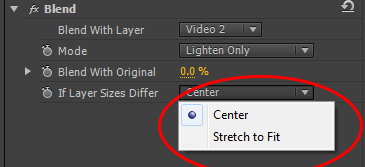
If Layer Sizes Differ
If you wish to mix images or video clips of different sizes, this property determines how the image will be treated, placed in the centre or stretched to fit.
As with all effects within Adobe Premiere CS6, all of the properties are able to be controlled over time with keyframes