Auto Color Effect
To demonstrate the use of this video effect please use any video clips that you have or use the files that we provide. Create a new DSLR 1080P sequence within your project. Now right-click and select “Save Target As” on the following video file to download it to your computer.
| Fisherman 1 Video File |
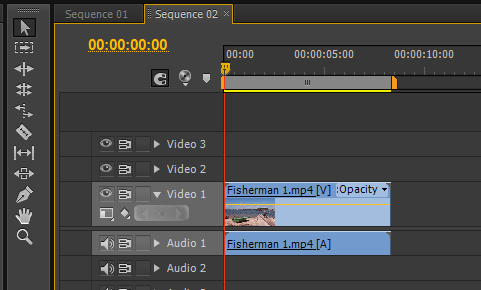
Next, import the video file and place it on your Timeline. Your Timeline should look like this:
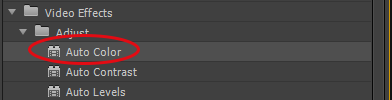
Locate the Auto Color effect within the Effects Panel (in the “Adjust” folder) and drag it onto the video file.
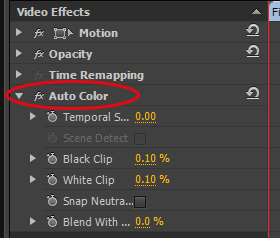
The effect will appear in the Effect Controls panel. After application you may need to render the Timeline to preview the effect in real time. Press Enter on your keyboard to render.
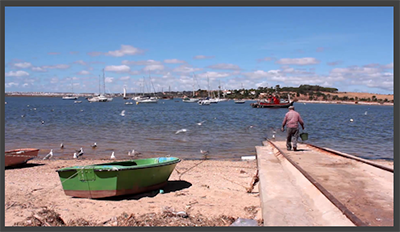
You should notice that there is an immediate change in the appearance of the image/video file shown in the Program Monitor. See below the “before” and “after” images taken from our video production.
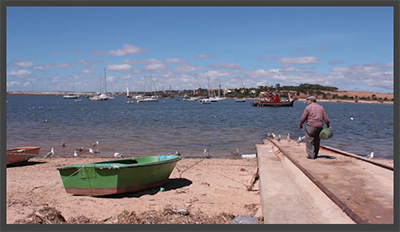
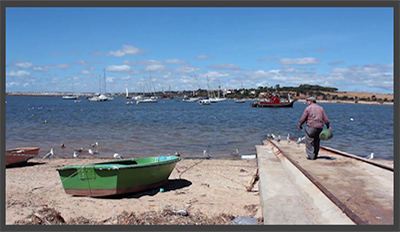
The Auto Color effect has automatically adjusted the colours within our video file to what Premiere believes to be correct. On the left is our original image and on the right is the corrected image.
The original image would have been recorded with certain “in-camera” settings including a variety of white balance and picture profile settings. These will be different for each camera and therefore different colour casts may be present in many types of footage that you edit. Notice that the original image has a slightly warmer look, while the adjusted image is cooler, the blues are enhanced.
The result will be subjective and it is up to you as an editor to make the decision as to how the finished result should look. However, Premiere CS6 uses certain standard processes and calculations to balance the color in the image to set standards within the video production industry.
Beware! – The Auto Color, Auto Contrast & Auto Levels effects analyses each frame of the video clip. Therefore, if your video clip’s colour or lighting (natural or indoor) changes over time, so will the effect. This will create a pulsing effect on your clip which is probably not desirable.
Effect Parameters
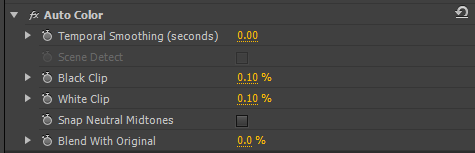
Temporal Smoothing
This is measured in seconds and analyses the clip over time (the seconds setting) rather than analyzing each frame alone, the effect is applied taking the surrounding frames into consideration to give a smoother resultant change. Once this is enabled the “Scene Detect” option is available. Check the box to disregard frames in terms of smoothing once the scene has changed within your video clip.
Black & White Clip
Increasing these levels will give the appearance of the blacks becoming blacker and the whites becoming whiter. A setting of 0 to 1% is recommended, exceeding this may result in detail being lost within the shadows or the highlights of the image.
Snap Neutral Midtones
When selected, this option will analyse the frame and select an average nearly neutral colour. The gamma of the frame will then be adjusted overall.
Blend with Original
This parameter allows the blending of the effected image with the original image. At 100%, the image is not effected at all. At 0% we only see the changed, effected image.
Auto Contrast Effect
This effect makes automatic adjustments to the contrast within a clip. While doing so the effect does not change the colour cast of the original image.
Auto Levels Effect
This effect makes automatic adjustments to the shadows and highlights within an image or video clip. Apply this effect to the clip and notice that the results are very similar to those gained by using the Auto Color Effect. This is because the effect processes all colour channels, R,G, & B separately, therefore removing the any colour casts as well as adjusting the highlights and shadows.