There are many different types of video transition available within Adobe Premiere CS6 but they generally all achieve the same basic result – to move smoothly from one clip to another. To describe the exact function of each transition is unnecessary for the purpose of this tutorial and we would advise experimentation and exploration of the full variety of transitions at your leisure. We would like to provide a general overview, highlighting some key points along the way.
3D Motion Transitions
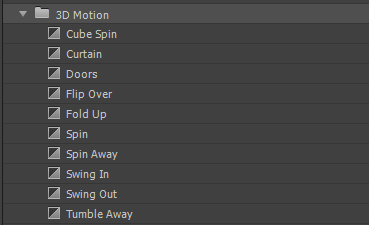
This collection of transitions give the appearance of the video clips moving in 3D space.
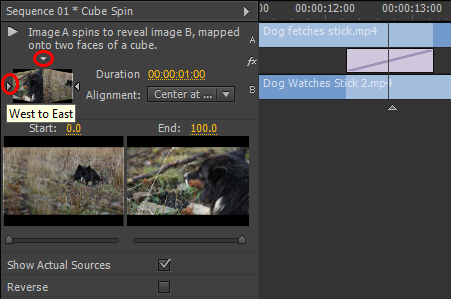
Cube Spin – Drop this transition onto your timeline as a double sided transition across two clips. Click on the transition in the Timeline so that it’s controls appear in the Effect Controls panel. Notice that you have a new option, the ability to alter the direction of the transition from East to West, North to South etc. via the little white triangles. Try this to see the results.
Dissolve
This collection of transitions incorporates a variety of ways to fade from one clip into another. These are probably the most widely used transitions within the world of video editing, with the simple Cross Dissolve becoming the transition of choice for most online video production editors.
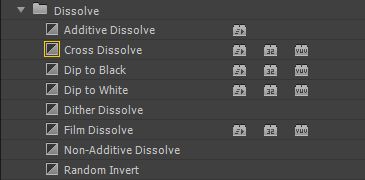
- Additive Dissolve – This is similar to a Cross Dissolve but will combine the luminance of the two clips, creating a luminance “spike” during the transition
-
Cross Dissolve – A simple cross fade between one clip and another
-
Dip to Black – As titled, the transition dips into black video between the two clips. This is a common transition used within film and video production
-
Dither Dissolve – This dissolves one clip into another using an algorithmic pattern. Notice that with this transition the “Anti-Aliasing” option is available. This helps to smooth the appearance of the transition.
-
Film Dissolve – A new transition added in Premiere CS5.5, this dissolve is very similar to the Cross Dissolve but uses linear colour to create a more realistic, filmic look
-
Non-Additive Dissolve – This transition compares the luminance of the pixels in the two clips and shows the lighter of the two
-
Random invert – This transition will create a set number of blocks in a random pattern across the images during the transition. Notice the “Custom” button appear in the Effect Controls panel. Click this button to change the parameters of the transition
Iris
These transitions mimic the effect of a camera iris opening and closing. Different shapes may be applied to this type of transition.

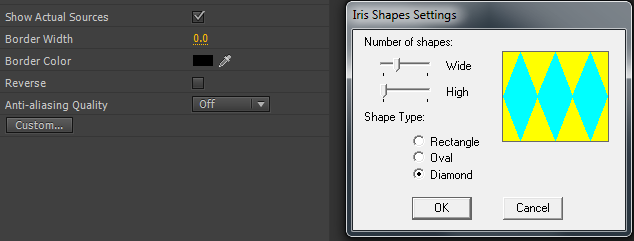
Apply an Iris transition to two clips in the Timeline and notice the options available within the Effect Controls panel. You may add a Border to the transition and alter the Border Colour. You may also Reverse the direction of the transition and add Custom settings for the shapes.
Map
So far, all the transitions we have used are “time variant” i.e. they change over time. Channel Map and Luminance Map are “non time variant” transitions i.e. they happen straight away.

- Channel Map – Allows changes of colour channels between clips, this can create some interesting colour effects. Click the “Custom” button to map the channels and view the results
-
Luminance Map – Here, the luminance of the first clip is mapped or superimposed onto the second clip
Page Peel
These transitions are self-explanatory and mimic the turning of a page/paper in a variety of ways.

Slide
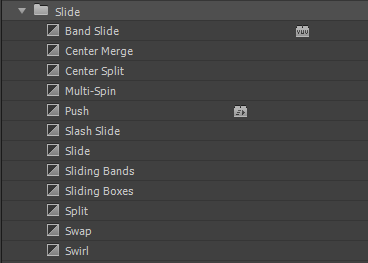
This is a large collection of transitions that slide one image or clip over another in a variety of different ways. There are a multitude of options available with these transitions in the Effect Controls panel.
Special Effect
A collection of transitions that seem a bit limited in usefulness!, but never mind.

Stretch
These transitions stretch one clip over another in a variety of ways. You may add a border and reverse the direction of these transitions.

Wipe
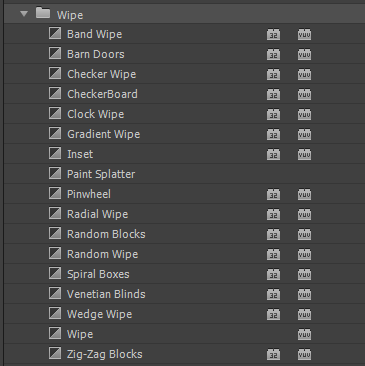
The Wipe is one of the oldest transitions within the world of video production and was commonly used in the 1970’s in TV programmes such as Top of the Pops etc. so if you’re looking for that retro stylee?!
Zoom
This is an interesting collection of transitions that allow a variety of zoom effects between clips.
-
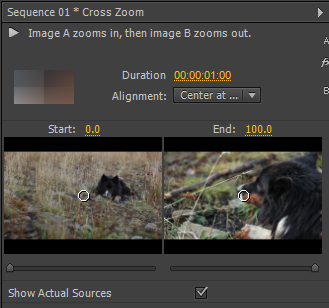
Cross Zoom – Apply this effect to two clips within your timeline. Notice within the Effect Controls panel that there are two small white circles on the clip images. These may be dragged to set the position that the transition zooms into
