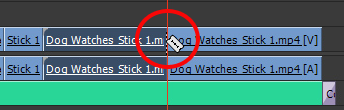
Razor Tool
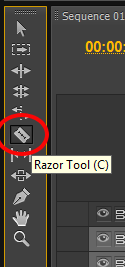
The Razor Tool operates in exactly the manner that you would expect, hover over a particular point in a clip (the razor icon appears) and click to chop the clip into two pieces at that point. This effectively creates two separate clips.
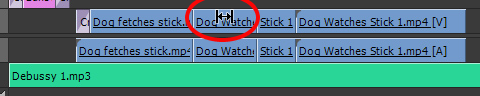
Slip Tool
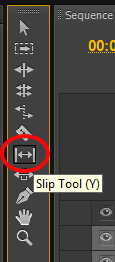
The Slip Tool changes the portion of the original clip that is shown within the edited (trimmed) clip in the timeline. Yes confusing I know!
Basically we can trim an original file in the timeline to the required length to fit our sequence, and then alter the actual content of the clip without changing its length or position within the sequence. You are moving the start and end points of your clip simultaneously without affecting the position of the rest of the clips within the sequence.
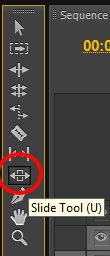
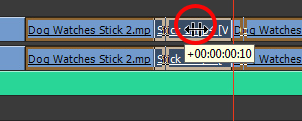
Slide Tool
To use the Slide Tool select it and drag left or right on any clip. The clip remains the same, it is the adjacent clips that are altered. Their start and end points are changed, yet the length of the sequence remains the same. The amount of frames moved is displayed as you use the tool.
Pen Tool

The Pen Tool may be used to add and adjust Keyframes. More on keyframes later, but they are used to alter parameters within a clip, such as audio volume over time. Let’s add some keyframes with the Pen Tool.
Twirl down the triangle on our music track to reveal the audio waveform if it is not already showing. Make the track a little wider by dragging the edge of the track in the left side of the timeline. Now select the Pen tool and click at various points along the yellow volume line

You have now entered some keyframes. These keyframes may now be pulled up or down by clicking and dragging with the Pen Tool.

If you now play the Timeline, you should hear the music volume rise and fall according to the keyframes. Remember to click “control” and “z” to reset your sequence after experimenting with each tool.
Hand Tool

The Hand tool is used to drag the viewable area in the Timeline left and right without selecting or moving any clips within the sequence. Select the tool and try it!
Zoom Tool

The Zoom tool is used to zoom in and out of the Timeline. Select the tool and your cursor will turn into a magnifying glass. Click to zoom in. Press “Alt” on your computer keyboard and click to zoom out (the cursor displays a minus sign).
You should now be familiar with the basic usage of the variety of tools available within the Tools Panel. Some editors use many tools all of the time, others just use the Selection tool and that’s about it! it’s entirely up to you. We have not dwelled on their usage within this section as it is not imperative that you use all of the tools to learn to edit within Premiere CS6.