The most common edit that you will see in films & television is known as the “cut“. It is when one shot is “cut” to another. The term comes from the days of film editing where the film reel was actually cut with a blade and spliced to the next piece of film to produce the edit. Of course you may cut anyimages/video/audio together as you wish, but when we are telling a story through video, things become a little more complex regarding at which point we place the “cut” and to which shot we are cutting to.
Let’s download a few more video files so that you have something to work with. Alternatively please feel free to use your own video files. Right click each file heading and select “Save Target As“. Save to your project folder.
| Dog Watches Stick 1 [Video File] | Dog Watches Stick 2 [Video File] | Stick 1 [Video File] |
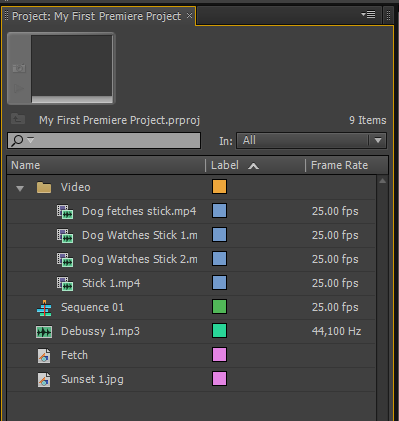
Next, import the three video files to your Premiere project. They should now appear within your project window. Move them into your “video” bin.
Now select the “Dog Watches Stick 2” file and drag it from your Project Panel onto the Timeline, to the right of your current clips.

We are going to make a straight cut between our first shot of the dog, to a close up of the dog’s head from another angle. We could simply pick up and drag the “dog watches stick 2” file to the left and drop it onto our first clip. Try this.
Now when you play through the Timeline you should see the cut/edit. The second clip has actually replaced the contents of track Video 1 at the point at which we dropped the clip. This is not always ideal and is not a flexible way of working. Let’s try something different. Press Control + Z on your keyboard to undo your last action within Premiere.
If we watch the “Dog Fetches Stick” file in the Timeline we can see that the dog fetches the stick and then lies down. Great, we can cut to the close up of the dog at this point. We are trying to “match” the action. However, we have a slight problem in that the dog’s mouth is open on the wide shot for most of the time and closed on the close up. There is a point however when the dog’s mouth is closed on the wide shot and the dog is lying down. This should match up with our close up shot when we cut them together.
First, let’s trim our “In Point” on the close up. This will be the first frame that we cut to at the edit point. If you play through the “Dog Watches Stick 2” file, you should see the camera operator focus the shot. Remove this section by trimming in. You should see the video displayed in the Program Monitor.
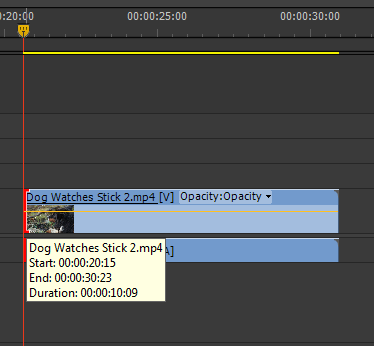
Let’s trim up the end point of the clip a little so that we are not finishing the shot on the last frame of the take. When shooting with a DSLR, the camera may often receive a little nudge from the operator’s finger when the button is pressed, this can jolt the video slightly.
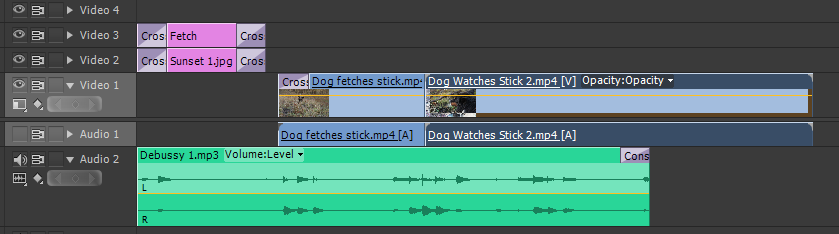
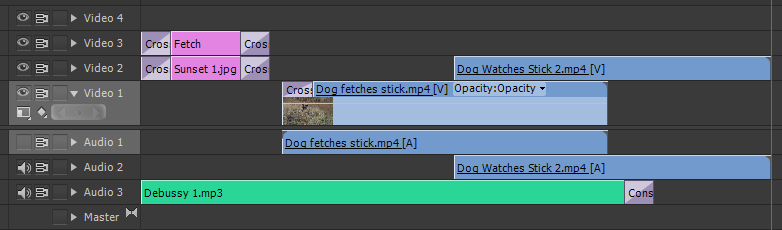
Ok, with our new clip nicely trimmed, we are going to place it onto track Video 2 instead of Video 1 so that we may adjust the edit point with ease. First, let’s drag the music from Audio 2 to Audio 3 to allow some room to work.
Next, pull down the audio on the “Dog Watches Stick 2” file from track Audio 1 to track Audio 2. Also, drag up the video portion of the file to track Video 2. You may now slide the close up shot to the left, altering the point at which it “cuts” from the wide shot.
Play around with sliding the close up shot/clip left and right and playing through the timeline. This should give you a feel for good and bad edit points. You may also like to extend the music file to the right as your sequence builds up.
Remember this is only one way of editing, you may prefer to edit in a different way, using only one video track for instance, or using the Source Monitor.
Once you are happy that the two clips cut together nicely, why not trim the end of the first clip so that it matches the start of the second clip and then drag the video and audio of the second clip back to track 1


Great, you have made your first cut! Let’s try another. Drag the “Stick 1” file from the project window and drop it onto track Video 2, half way through the close up shot we just added. You should see that the audio portion of the file automatically falls into track Audio 2 to correspond with the video. This leaves our audio on track 1 intact.
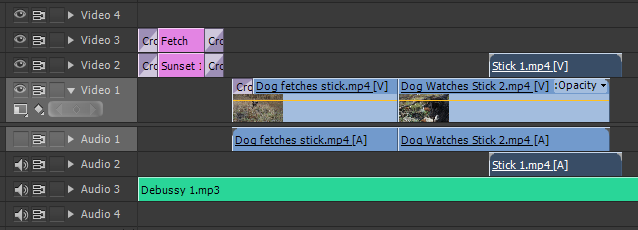
As with our previous edit, play around with the position of the Stick 1 file until you are happy with the cutting point. Trim the Stick 1 file to your preference. Our Timeline now looks like this, with the three video clips edited in order.

Of course, it is personal preference as to which clips you would like to use and in which order you would like to use them within your projects. You will find that some clips cut together better than others. As with any craft, skill is gained through experience and as your editing skills improve, the way that shoot video will change too, understanding the requirements of the editor in post-production.
We have one last shot to cut in. Drag the “Dog Watches Stick 1” file to the timeline and follow the same procedure already described. This is a longer shot so you may like to drop it to the right of your edit to trim up first.
Remember to keep playing through your edit to observe the pace of the overall sequence. Don’t just edit from one shot to the next. Also try varying the length of the clips so that they are not all uniform. We have made the stick shot quite short. Ask yourself “how long does the viewer need to absorb the image before moving on?.
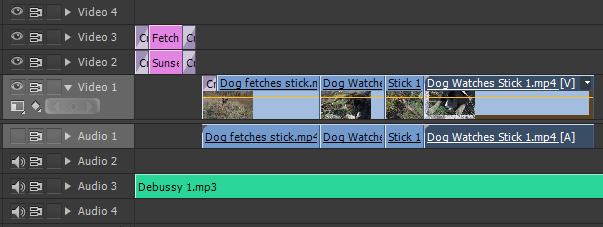
With this final clip, try trimming the end of your last clip to find your preferred cutting point rather than sliding the new clip over on track Video 2.
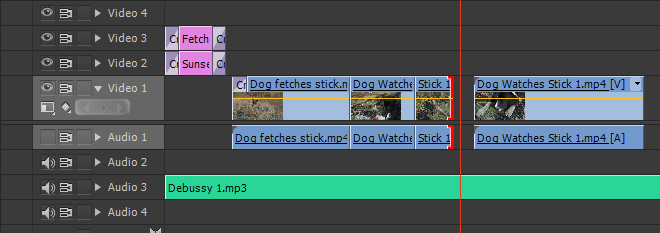
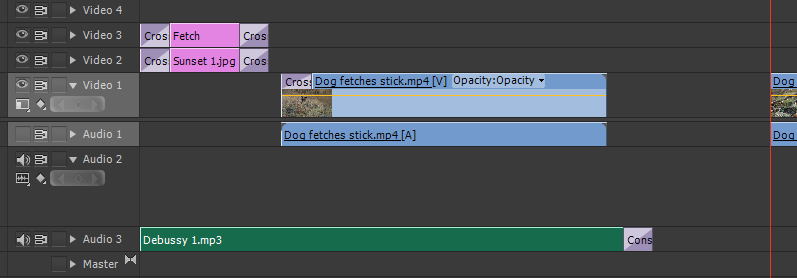
Our resultant Timeline with the four clips in place looks like this.
Ok, now you can cut in the Timeline!