The Program Monitor displays the output from the Timeline, effectively your project output.

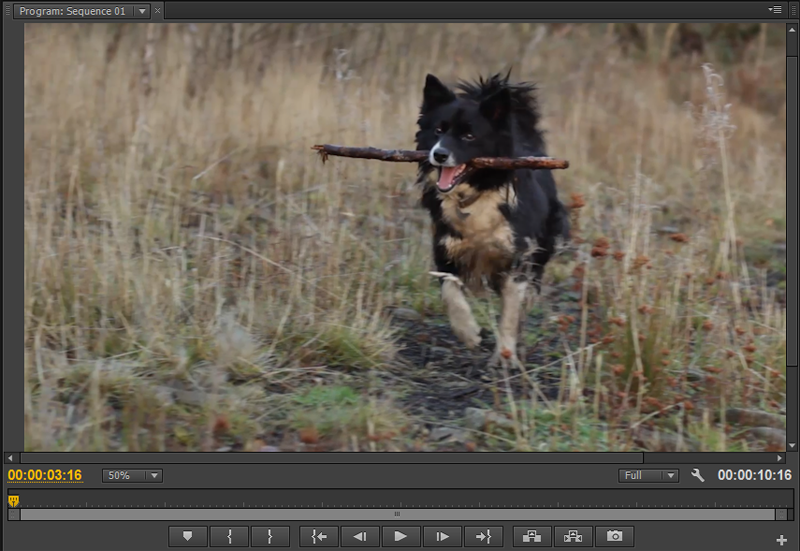
The transport controls at the bottom of the program monitor control playback and allow you to set markers within your video should you wish. Hover over each button to see the screen tip for each particular transport button. It is not necessary to use these buttons when editing within the timeline.
Zoom Level
If you have reset the workspace then some of the video file may be obscured. That is because our video is in high definition and is quite a large frame. Next to the timecode (yellow numbers) you will see “50%” and a drop down menu.
“50%” means that we are currently displaying the video at half of it’s original size. This may be too big for the window so let’s change it to “Fit”

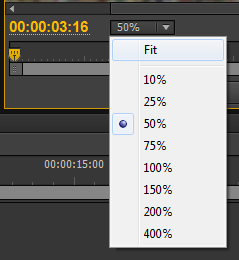
When the zoom level is set to “Fit“, the video will re-size according to how you set the window size within your chosen workspace. Try moving the edges of the program monitor to see the video change size to fit.
Playback Resolution
At the bottom right side of the program monitor you will see the word “Full” and another drop-down monitor. This is denotes the playback resolution

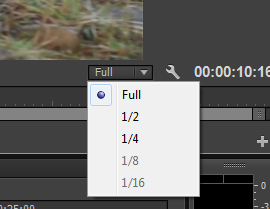
If your computer is struggling to play back a video file smoothly, it lacks the appropriate power to handle HD video files effectively. In this instance, you may wish to lower the playback resolution to a half or a quarter of it’s original quality. This will not affect the original file.
Program Monitor Settings
Click the spanner (wrench) icon to see the program monitor settings.


Here, you may select different kinds of monitor to assess your video output. The default type of video monitoring is “Composite Video” and this is the one that you will use most of the time. As you become more experienced you may like to select some of the other monitors and scopes to assess the quality of your video.
Exporting Frames
The button with a camera icon is for exporting a particular frame of video and saving it to your hard drive as an image file. In the UK & Europe we generally work with 25 frames per second of video.

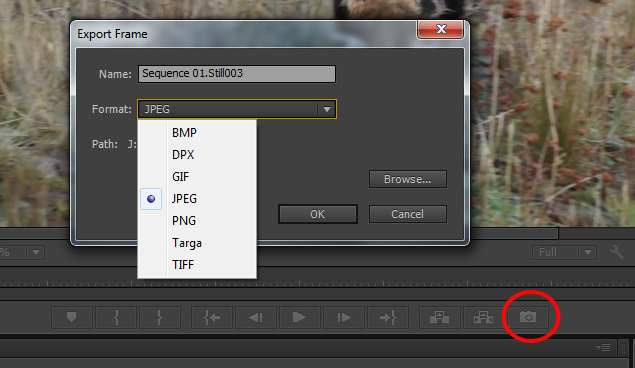
Press the camera button and a new window will appear. Here you may name the still image and select the required format before saving it to your computer. The “Browse” button allows you to designate a particular location for the file on your hard drive.
Drag the left hand edge of the Program Monitor to the left slightly so that you have room around the edges of your video.
Here’s a video recap: