The Timeline panel is where you will spend most of your “time” when using Premiere. This is where you “build” your project, bringing all of your project assets together, editing them, adding effects and finally exporting your beautiful finished edits to a format of your choice.
Choose Window/Workspace/Reset Current Workspace to Editing (CS5.5).

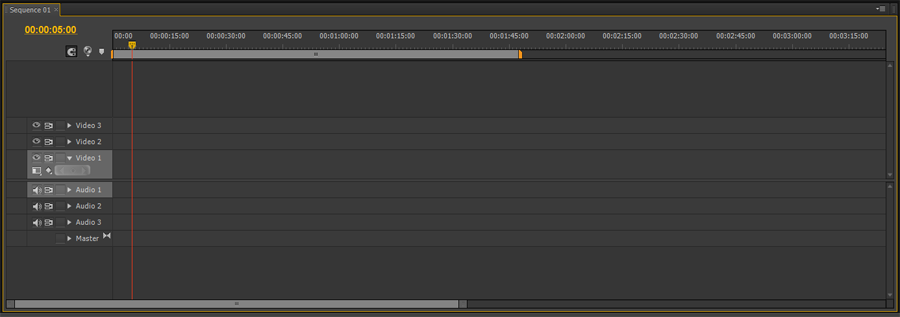
Remember that when we created our first project, Premiere asked us to name and create a Sequence, and choose a format for the sequence such as “DSLR“. Within a project you may create many sequences of many different formats. We will use “Sequence 1” for this lesson and this should be displayed automatically within the timeline, denoted by it’s name in the top left corner.
Below your sequence name you will see the timecode indicator or as Premiere calls it, the “Playhead Position“.
Timecode is the universal way of “measuring” the length of video and audio and comes from the film industry. Timecode is measured in the following way:
| HOURS | MINUTES | SECONDS | FRAMES |
| 00: | 00: | 00: | 00 |
Click and drag left or right on the playhead position (the yellow numbers) and you should notice that the playhead moves simultaneously across the timeline. Conversely, click and drag the playhead (the yellow tab at the top of the red line) left and right to see the playhead position change.
Zooming
Obviously, some video production projects are long and some are short. To adjust how much of a project you can view at any one time, you may zoom in or zoom out of the contents of the timeline.
To do this, use the scroll bar at the bottom of the timeline. Grab it in the middle to move through your project maintaining the current zoom level. Grab it at either end to zoom in and out of the timeline. This takes some practice to use effectively and is a function that you will constantly need to use during editing.
![]()
![]()
Another way to zoom is to use the “+” and “-” controls on your keyboard.
Tracks
The timeline consists of several video and audio “tracks”. Tracks enable the user to layer video and audio at the same point within a project. You may add, rename or delete tracks within the selected sequence by right clicking on the track name. Try it.


If you would like to restore any action that you take within Premiere, select Edit/Undo from the top menu.
Selecting Tracks
You may select a track by clicking on it, it will turn light grey. Remember twirling? Clicking on the small triangle beside each track name will expand or compress the track so that it’s contents can be observed in more or less detail.
Beside each video track there is an “eye” icon. Toggling this switch on or off will turn that particular track on or off. Similarly, there is a speaker icon next to the audio tracks. This will also turn the output of that particular track on or off.
Grab the “Dog fetches stick” video file from your project panel and drop it onto track “Video 1”

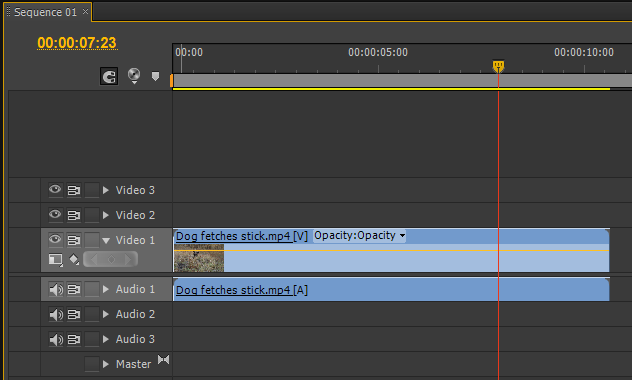
Notice that when you brought the video file into the timeline, it also brought an associated audio file (recorded by the camera) with it and placed it onto the corresponding audio track (Audio 1).
Grab the Playback Head (yellow shape on top of the red line), and move it left and right through the video file. You should see the video appear in the Program Monitor at the top right of the workspace. You should also see the Audio Level Meters move up and down (bottom right), and hear the audio through your speakers.
Drag the playback head to the left/start of the sequence and then press the space bar. The sequence will play at normal speed. To stop sequence playback, press the space bar again. Your video should be playing and stopping within the Program Monitor.
Here’s a quick video recap: