Many types of file may be used within an Adobe Premiere project, mainly video, audio and graphics files of different formats. Once imported into Premiere they may be referred to as “assets”.
It is good practice to keep all files associated with, or to be used within a Premiere project in the same folder. For our project we have already created a folder entitled “My First Premiere Project”. We will store all assets for this lesson here. If you have some video files that you have already recorded (from your DSLR for instance) you may wish to copy those files into this folder. If not, you may use the files that we supply.
Importing Video Files
To download our first example video file, right click on “Dog Fetches Stick” below and select “Save target as” to save it to your designated project folder.
| Dog Fetches Stick Video File |
Let’s look at browsing our media files and importing them into Premiere. Reset the current workspace to “editing CS5.5”. In the bottom left corner of the workspace you should see the Media Browser panel. Drag the right hand edge of the panel to the right so that we can see the contents easier. On the left of the panel you should be able to see a list of drives within your computer. Click the triangle beside the drive that contains your project folder to reveal it’s contents, this process is called “twirling down”
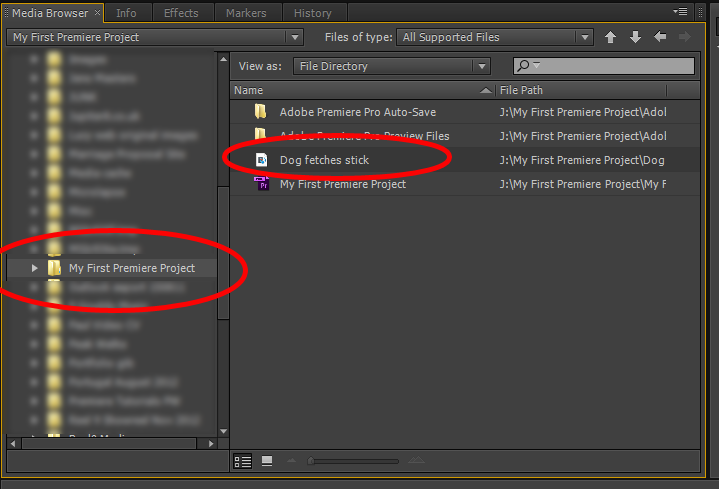
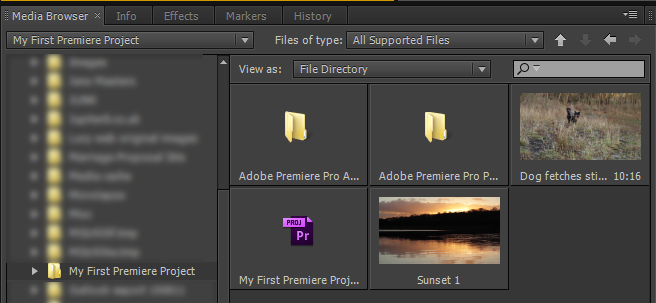
Once you have selected a folder from the list on the left, the contents should appear on the right of the Media Browser. Select the “My First Premiere Project” folder. We can see the “Dog Fetches Stick” video file that we copied to the folder. At the bottom of the panel you can select “Thumbnail View”, which will display the first frame of your video files within that folder (see below).
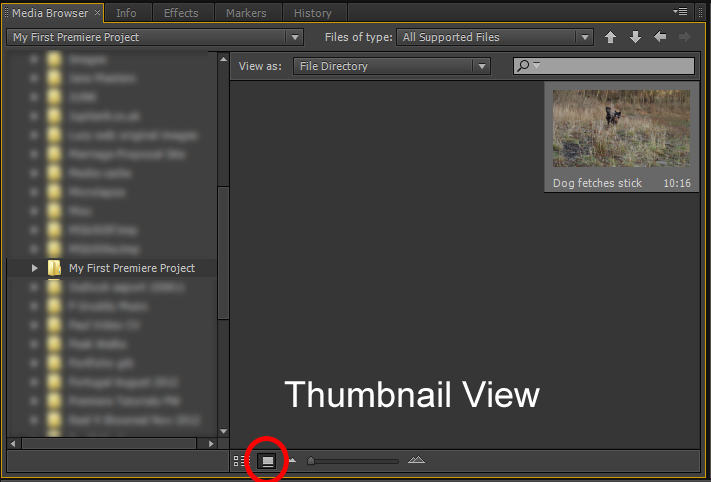
Try moving your mouse over the video file. You should notice that the file will play through as you move the mouse left to right.
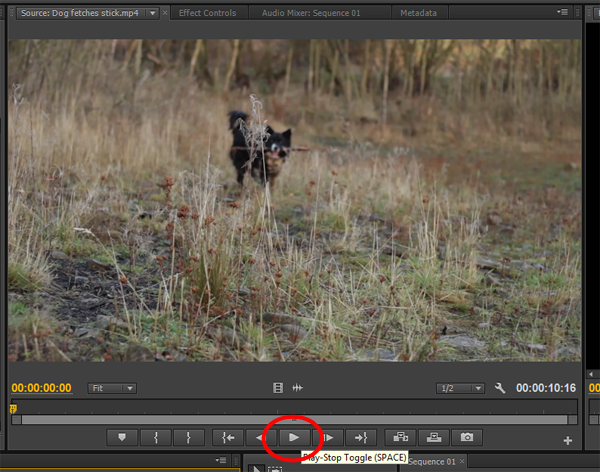
Right click on the video file and choose “Open in Source Monitor”. You should now see that the Source Monitor contains the video file. Press the play button at the bottom of the Source Monitor Panel to play the file through. Use this function to preview video files before you import them to your project.
Right click on the “Dog Fetches Stick” file in the Media Browser panel and select “Import”. The file should now appear in the Project Panel at the top left of the workspace.

Importing Still Images
Download the following still image, right click and “Save target as” – Save it in your project folder.
| Sunset 1 Image File |
In Premiere, right click the Sunset 1 image in the Media Browser panel and select Import. The file will now appear within your project Panel
Importing Audio Files
Download the following audio file “Music 1”, right click and “Save target as” – Save it to your project folder.
| Music 1 |
As with other file types the .mp3 file should now appear in the Media Browser. The audio file may also be previewed in the Source Monitor by right clicking the file and choosing “open in source monitor”. Right click the file and import it to your project.
Your project panel should now contain a video file, an audio file and a still image file, These are the basic building blocks for a Premiere project.
Premiere will import and process many types of video, audio and still image file types such as JPEG, TIFF, PNG, PSD, BMP, MP4, AVI, & WAV. For now, you should have successfully imported an MP4 video, an .MP3 audio file and a JPEG image.
The process of importing video assets into Premiere explained in this lesson is applicable to a “tapeless” workflow. All DSLR cameras work in this manner, along with most modern consumer and “prosumer” video cameras, recording to SD cards. Be sure to copy your source files from the card to your project folder before importing.
If your camera records to tape, we have covered the capture process in another lesson.
It is important to note that once a particular file has been imported to your project, it’s location within your computer’s file structure should not be moved. If you do need to move the file, then Premiere will ask you to reference it’s new location upon opening the project.
Here is a quick recap: