If you have worked through Lesson 1A you should see the following screen
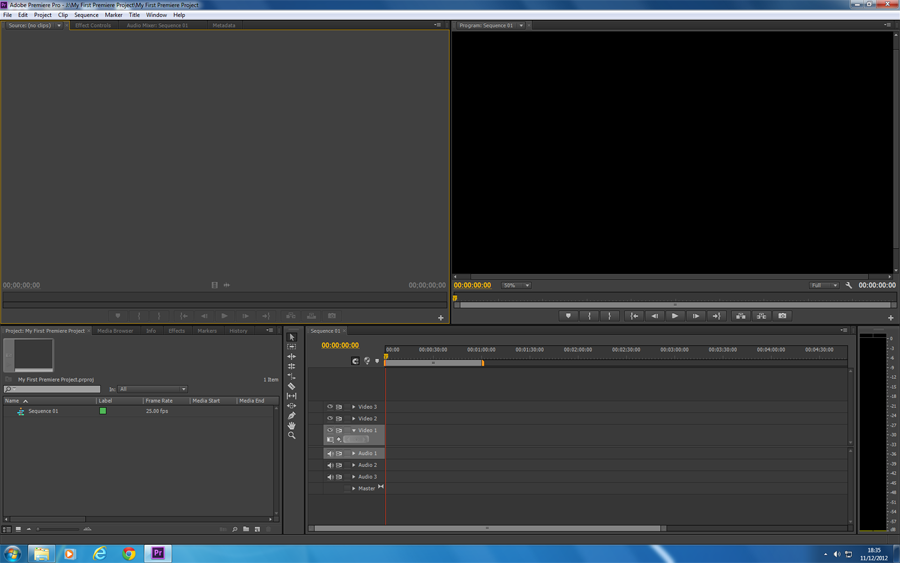
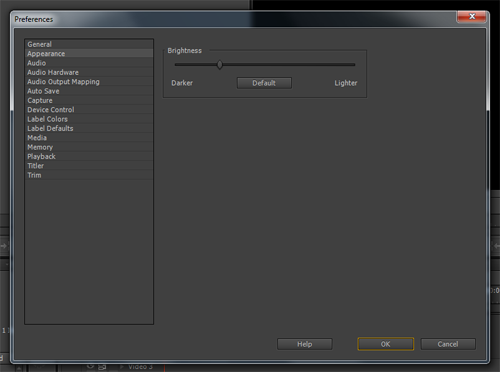
If the colours do not exactly match with ours then don’t worry. You may adjust the brightness of your workspace by selecting Edit/Preferences/Appearancefrom the top menu in Premiere CS6

Looking at the workspace, you will notice several “panels”. Many panels also contain “tabs” which, when clicked, reveal other panels. It may seem quite complicated at first but don’t worry, you will usually work with only a few panels to learn the basics.
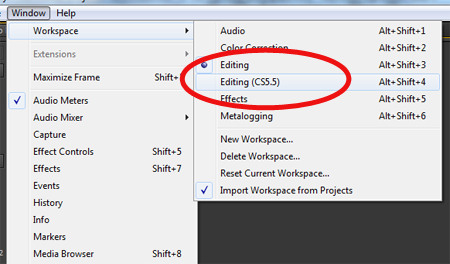
Premiere allows you to arrange the panels as you wish, and presents several “workspace presets” to aid production. let’s go up to the top menu and selectWindow/Workspace/Editing CS5.5
This is our prefered starter workspace, but you may use another and even save your own workspaces as a preset once you are comfortable with Premiere and resizing the panels. Let’s take a closer look and identify the panels within this workspace
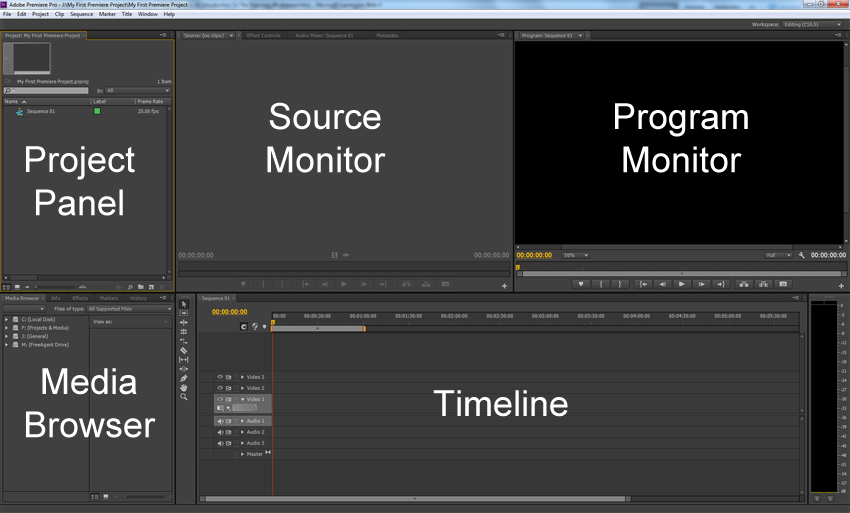
Media Browser – Here you may browse your computer’s hard drives and select video, audio and graphical content that you wish to import and use within your project.
Project Panel – Here you may view the contents of your project. The files that appear here are your imported assets.
Source Monitor – Here you may play and view the contents of any selected video or audio file.
Timeline – Your project is “built” within this window. It contains several video and audio tracks that enable complex non-linear video editing.
Program Monitor – Your project result/output may be viewed here. This panel displays the resultant video from your editing process within the timeline.
Understanding these five panels will enable you to create basic projects within Adobe Premiere CS6.
Here is a quick recap: