Compound Blur Effect
This effect blurs the image according to a luminance map of a control clip. This means that the bright areas of another image or video clip will determine which areas of your affected clip are blurred. You may use any clip as a control clip, or by default, the compound blur effect uses its own luminance as the control. To demonstrate this, we have created an image in the Titler where the left half is clear and the right half contains solid white.

We then placed this title/image onto track Video 2 within the Timeline, with the Fisherman 1 video clip placed on track Video 3
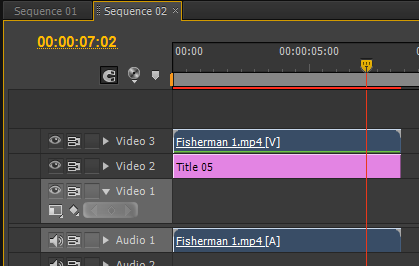
We then applied the Compound Blur effect to the Fisherman 1 clip with a maximum blur of 8. From the Blur Layer property, we selected Video 2

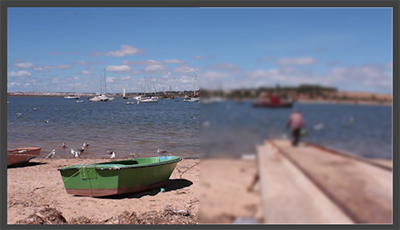
In the image below we can see the result of the effect, the right half of the video clip has been blurred corresponding to the bright part of our control image.
Blur Layer
Selects the control track for the effect
Maximum Blur
The amount in pixels of the blur
If Layer Sizes Differ
This check box will stretch the control image to the dimensions of the affected image
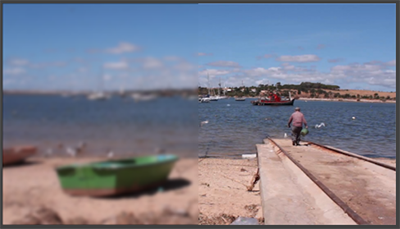
Invert Blur
This reverses the blur effect so that the dark areas of the control layer affect the image. In our case, with this box selected the black area of the control track now corresponds to the blur.
Directional Blur Effect
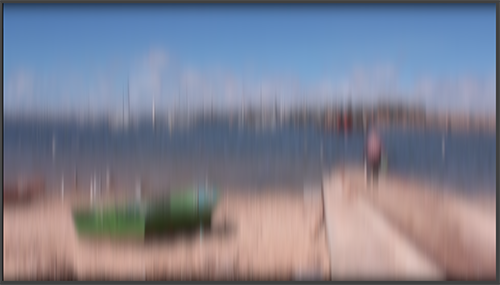
This effect is intended to give the illusion of motion, as if the camera was moving across the image. The Blur Length and Direction may be chosen manually.

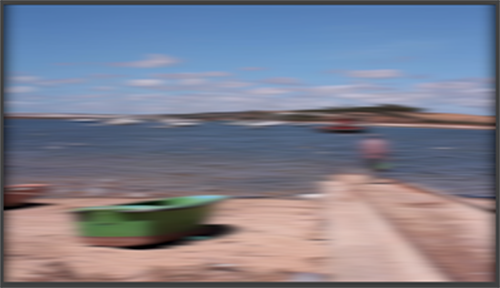
The direction is measured in degrees so we see above that a setting of 90 degrees produces a horizontal blur. Below a setting of 180 degrees produces a vertical blur:
Fast Blur Effect
This is a simple, no frills blur effect that operates quickly. The controls are Blurriness to increase the blur amount and Blur Dimensions which select the direction of the blur as with the previous effect. Repeat Edge Pixels removes the black edge from the image.