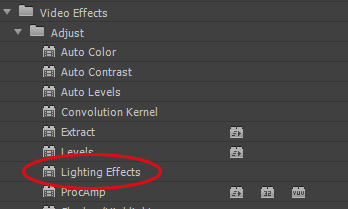
Lighting Effects add artificial lights to your video clips. The effect may be found in the Effects panel, in the “Adjust” folder.
To demonstrate the use of this effect we would like to use the following video file which you may download. Right-click on the file and select “Save Target As“
| Interviewee 1 Video File |
Import the file to a DSLR 1080P sequence in Premiere CS6 and drop the Lighting Effects on to the video clip. Set your zoom level in the Program Monitor to 25%. The Program Monitor should look like this:
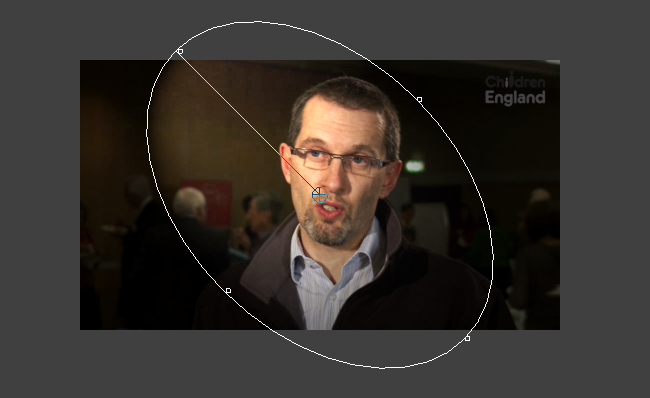
The effect has automatically added a light to the video clip. Certain pixels have become brighter and others have been darkened to create the illusion of a spotlight being placed upon the subject. If the white guide circle is not present in the Program Monitor, click on the title of the effect in the Effect Controls.
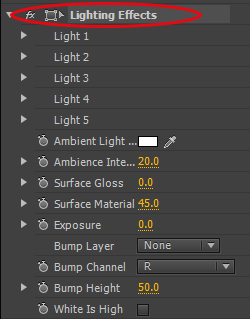
Effect Properties
Light 1
Each instance of this effect that is added to the Timeline provides up to 5 lights. Twirl down the small triangle for each light to add a light or reveal the controls for each light. By default, Light 1 is a spotlight and is automatically added. Notice that Light 2 displays None for its’ Light Type.
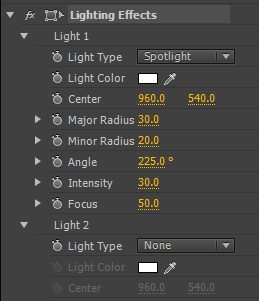
Light Type
There are three types of light available, Directional (general light from a distance), Omni (general lighting from above similar to a light bulb) & Spotlight (a specific, shaped beam of light). Select each one to see the effect produced.
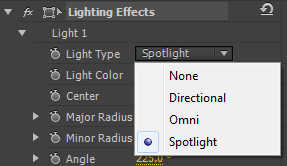
Light Color
By default the light colour is white, but can be set to any colour you wish. This has the effect of adding a colour gel to a real light
Center
These are the X & Y co-ordinates for the centre point/point of interest of the light. Adjust these points to move the light around the frame or, with the effect title selected, click and drag the centre point of the light in the Program Monitor, using the light guide
Major Radius
This setting adjusts the length of throw of the light. This may also be adjusted using the guides in the Program Monitor
Minor Radius
This setting changes the width and to some extent the intensity of a spotlight beam. Drag the left and right handles of the light guide in the Program Monitor to edit
Angle
Adjust this setting to change the position of the spotlight. this will spin 360 degrees around the video frame
Intensity
This increases or decreases the strength/power of the light
Focus
This adjusts the size/spread of focus point or brightest point where the light is focused
Outside of the individual light properties, there are some global controls for the Lighting effects.
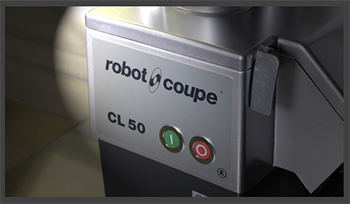
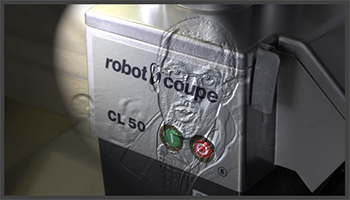
Download the following image file to use for demonstration purposes, right-click and select “Save target As”:
| Kitchen Appliance 1 Image File |
Import the image to your project, place it on the Timeline and apply an instance of Lighting Effects
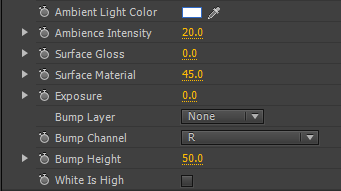
Ambient Light Color
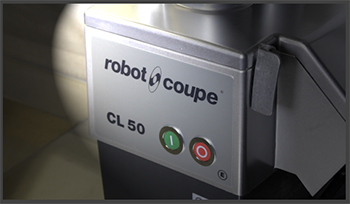
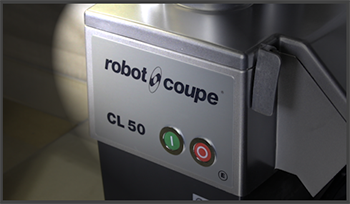
When a light is applied to the video frame, the Ambient Light Color controls the color of the ambient light surrounding the applied light. Here, we have set a colour of red to demonstrate before and after application:
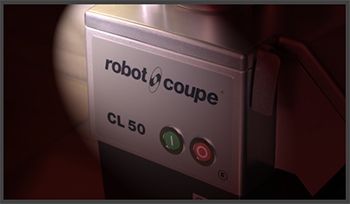
Ambience Intensity
This increases or decreases the intensity of the ambient light mentioned above. We have used a setting of 50 upon the red colour already selected.

Surface Gloss
This is how much the surface within the image reflects the light. 100 being maximum reflection, -100 being no reflection at all. With the image below, this has been increased to a setting of 50.
Surface Material
This sets the reflective source. -100 reflects the light colour, a setting of 100 reflects the objects’ colour.
Exposure
This setting controls the strength of lighting applied. Here, the setting is increased to 44.

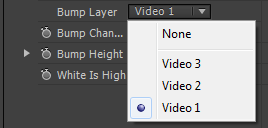
Bump Layer
A bump layer can be used as a texture map. You may use images or video imported to Premiere and select them to add texture to your lighting effects. Drag the image or texture or video in line with your effected clip, but on another video track, beneath your clip with the Lighting Effects applied. Then select the appropriate video track in the options.


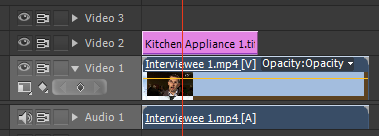
Here, we have used the interviewee footage mapped onto the light, which is a bit weird but there you go.
Bump Height
Adjust this to change the intensity/3D effect of the texture layer
White is High
Checking this box will invert the texture effect within the light.