Lesson 4C – Opacity
Opacity is a fixed effect that is automatically available for all clips brought into the Timeline.
The Opacity of a clip is a measurement of opaqueness or how much you can see through a particular clip to whatever is underneath. For example, when you layer two clips , one on top of the other, the Opacity setting of the higher clip on the Timeline will determine how much of the lower clip you may see. So in effect, you may “mix” images/clips together.
By default, the Opacity of any particular clip is set to full strength which is “100%“. Select a clip in your Timeline and twirl down the Opacity triangle in the Effect Controls panel to view the controls.
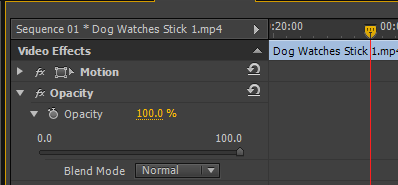
You may add Keyframes to the opacity effect as with the Motion effect we discussed in the previous lesson. Let’s add some Keyframes to the “Dog Watches Stick 1” file in the Timeline.
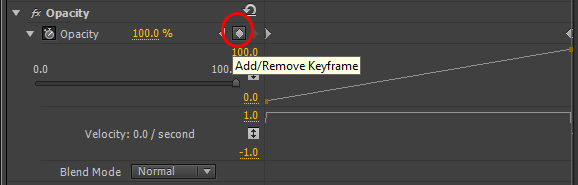
Select the file in the Timeline and then drag the Playhead to the start of the clip in the Effect Controls panel. Click the Stopwatch to add a Keyframe, then adjust the value to 0%.

As there is nothing underneath this clip in the Timeline, Premiere will default to showing black video. Basically we cannot see the clip at an Opacity value of “0%“. Drag the Playhead to the end of the clip and enter another Keyframe, then apply a value of “100%” to this Keyframe.
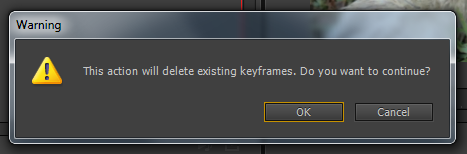
Play through your clip and you should see a slow gradual fade up of the video within the clip. Press the Stopwatch button for the effect to delete these Keyframes. You will see a warning box, click ok to delete all existing keyframes and reset the Opacity for your clip.

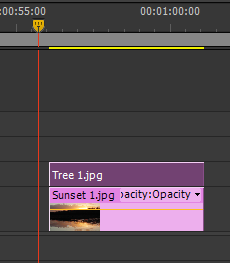
We can also control the effect straight from the Timeline. Click the triangle on track Video 1 to expand the detail within the track.

You will notice a yellow line running horizontally through your clips in the Timeline. This is known as the “Keyframe Rubber Band” and can be applied to a variety of effects. By default it represents the clip Opacity. Position the Playhead at various points within the clip and click the Add-Remove Keyframe button. You may then drag the Keyframes up or down to apply values to them.

Play the clip and you should see the image fade in and out. To delete these changes, click the Stopwatch in Effect Controls as before.
Mixing Clips
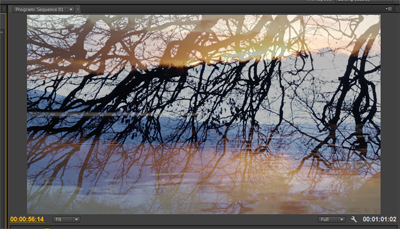
Drag the “Sunset 1” and the “Tree 1” files to the timeline from the Project Panel and place them one on top of the other onto different video tracks. Ensure that the “Tree 1” file (the file on top) is selected.
Go to the Effect Controls panel and adjust the clip’s Opacity value to 50%

Play through the clips in the Timeline and they should be nicely mixed together to create a new image.
Blend Mode
The Blend Mode determines how the two clips are mixed together. By default this is set to Normal, but there are many options here. Try some of them out to see the results of different blending modes.
