So far we have looked at basic editing techniques using the selection tool and not had to select any other tools to achieve our goal. Sometimes however, using a different tool may make life within Premiere CS6 a little quicker and easier. Let’s run through the various tools available and their usage.
If we reset the current workspace again to Premiere CS5.5, the Tools Panel should be found to the left of the Timeline, and should look like this:
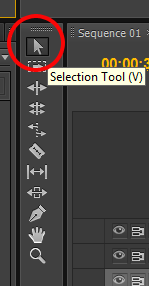
The Selection Tool
The Selection tool is our daily “workhorse” tool and is the tool we will use most of the time. As we know, this is a good tool for general trimming of clips within the Timeline. You may select a clip in the Timeline by clicking on it (it’s colour will darken) or you may select more than one clip at a time by holding “Shift” on your keyboard at the same time as clicking on the clips.
To select all of the clips within a sequence you can “draw” a rectangle around the clips by clicking and dragging over all of the clips starting from an empty space within the Timeline. Click once in an empty part of the Timeline to deselect the clips.

If your cursor looks a little strange at any time and you are not sure why, just click on the Selection tool again to return to normal operation.
Track Select Tool
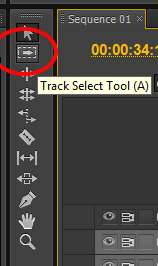
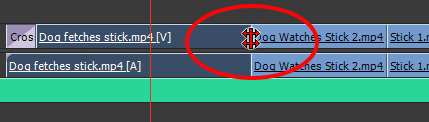
Use this tool to select all clips within a certain track. This is handy if you have a complex sequence and you just wish to move or edit the contents of one track only. With the tool selected you should see your cursor turn into a black arrow. Merely click on the first clip on Video 1 for instance and you will see that all of the clips in that track are selected.

Ripple Edit Tool
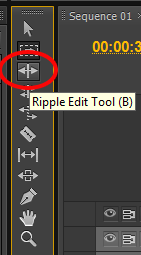
This tool is used for trimming edit points in much the same way as the Selection tool. The difference is when you trim an edit point the rest of the clips in the sequence move left of right to accommodate the change. Let’s experiment with this.
Select the Ripple Edit tool and click on the first clip within your sequence “dog fetches stick”. You should see that the trim brackets are now yellow instead of the usual red. Click and drag the end point of the first clip to the left. As you shorten the clip you will see that the other clips follow and no gap is left as with the normal Selection tool. Evidently, as you shorten one clip, the whole sequence becomes shortened.
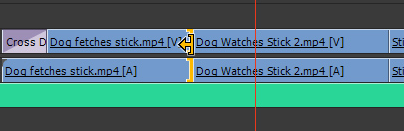
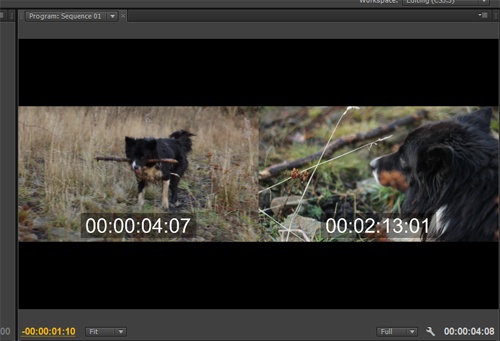
You may also notice the Program Monitor displays the current edit point of both adjoining clips with their associated timecode as you move.
Rolling Edit Tool

With the Rolling Edit tool, the sequence length remains the same as when the edit point is adjusted, one clip becomes longer and the adjacent clip becomes shorter. Select the tool and try this at the first edit point in our sequence. As with the Ripple Edit tool, the Program Monitor will split to display the start and end points of each clip.
If your timeline is looking a little messed up, hold down “control” and hit “z” multiple times to undo your last actions.
Rate Stretch Tool

Sometimes you will find that there is a gap in your sequence that you may need to fill, or you need to lengthen or shorten your sequence to fit a particular time restraint or simply so that your video lasts as long as your music track. If you have ran out of appropriate video clips you may like to use the Rate Stretch tool.
The Rate Stretch tool will allow you to drag the end of a clip to fill a gap. During this process the playback speed of the clip will slow down. Conversely, if you shorten a clip with the tool, the playback speed will speed up. Select the tool and hover over the end of your final clip in the Timeline
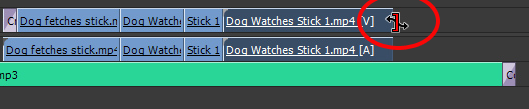
Next, drag the end of the clip to the right until it snaps to the beginning of the audio fade transition.

We can see that the speed of the clip has been adjusted to around 60% of it’s original speed to accommodate the change.
Now go to the next lesson to learn about the other tools in the Tools Panel.