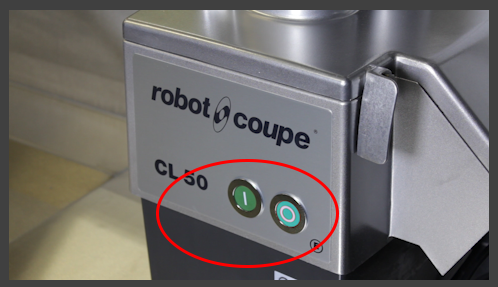
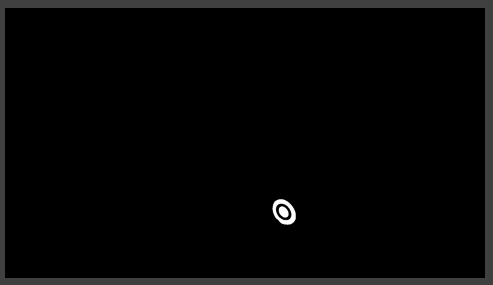
The Change Color effect is useful in video production terms as it allows us to select a colour or a range of colours in a video image and change them to another colour, creating some interesting effects or correcting colour issues. Let’s look at it in action, download (right-click then “Save As“) the following image of a kitchen appliance:
| Kitchen Appliance 1 |
Import the image into your Premiere project and place it on the Timeline. Next, apply the Change Color effect which may be found in the Effects Panel, in the Color Correction folder. Drag the effect onto the clip.
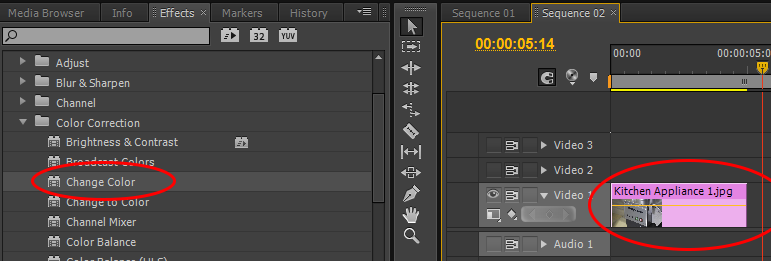
The image should appear in the Program Monitor in it’s original state.

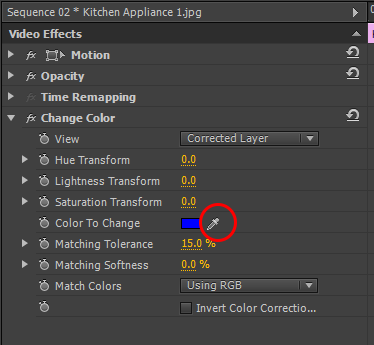
Select the Eyedropper/Color Picker from the Color To Change option in the Effect Controls panel. Next, hover over the red button on the appliance and click to select that colour. The controls should now look like this.

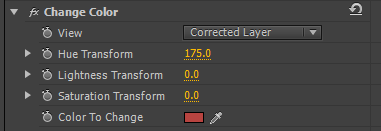
Now alter the Hue Transform parameter and observe that the red button on the appliance changes colour – magic!
Effectively, if you excuse the pun, this is the best way to use this effect, changing a specific colour within an image/clip. The more isolated the colour is (this is the only red or shade of red within the image, the better the effect works. There are however some parameters that you may wish to become familiar with:
View
Selecting Corrected Layer shows the complete, affected image. Selecting Color Correction Mask shows the affected area of the image in black & white.
Hue Transform
Cycles through the colours available to change your selection to
Lightness Transform
Makes the selected pixels lighter (positive value) or darker (negative value)
Saturation Transform
Controls the colour saturation of the selected pixels
Color To Change
Use the color picker to select the colour within the image or video production that you wish to change, as we did previously
Matching Tolerance
Here you can fine tune the range of colours (colours similar to the selected colour) that are selected for change
Matching Softness
This affects the amount of change of colour to pixels in the image that have not been selected in the range of colours
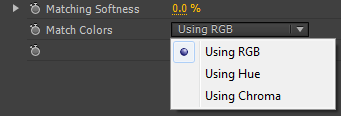
Match Colors
This selects which colour space is used to select the range of colours affected. Choose between RGB, Hue(ignores saturation & brightness) or Chroma(ignores lightness)
Invert Color Correction Mask
This inverts the mask which determines which colours to affect.
Of course, Keyframes may be used to alter any parameters within this effect over time. So with a little trickery we can get the button colour to cycle through 360 degrees of the colour spectrum. Let’s have a go:
Select the red colour within the button as before. Next, position the Playback head near the beginning of the kitchen appliance image and in the Effect Controls, click the Stopwatch next to the Hue Transform control. This will apply a Keyframe with a value of “0”
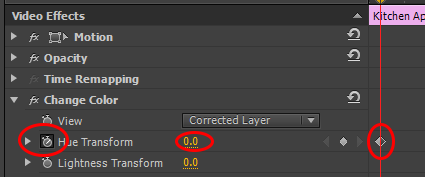
Now drag the Playhead to the end of the clip and enter a new figure of 360 into the Hue Transform control. This will create a new Keyframe at this value.

If you now play through the Timeline you should notice the button automatically cycle through the colours.